Intro
As a website grows, it inevitably attracts unwanted attention. Whether you are dealing with a relentless brute-force attack, a scrap-bot aggressively draining your bandwidth, or malicious traffic originating from specific, known networks, there comes a time when you must slam the door shut.
When your infrastructure relies on a standard Apache2 web server, you don't always need a complex, expensive firewall to protect your digital assets. Apache2 comes equipped with native, highly efficient tools designed to intercept and reject requests at the application layer. This guide will walk you through the precise steps required to block traffic by specific IP addresses or entire Classless Inter-Domain Routing (CIDR) networks.
Understanding the "Why" and "When"
Blocking traffic at the web server level is an immediate, surgical response to active threats. You typically need to deploy this defense when:
- Targeted Spambots: A single IP address is spamming your contact forms, comment sections, or user registration pages.
- DDoS & Scraping: A distributed network of bots is aggressively scraping your content, driving up your CPU usage and server response times.
- Geographical or Network Threats: You notice a pattern of malicious probing originating from a specific data center or an entire subnet of IP addresses that have no legitimate reason to visit your site.
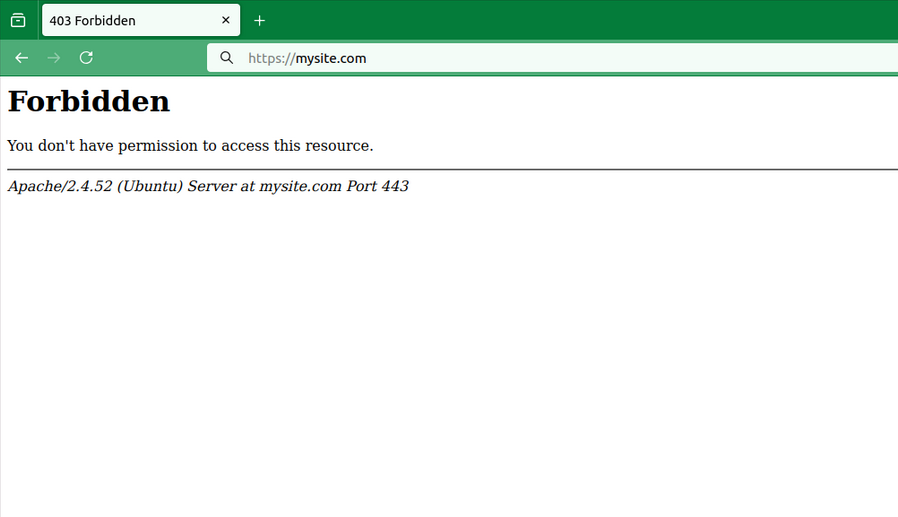
By leveraging Apache’s access control mechanisms, you can instruct the server to immediately drop these connections with a 403 Forbidden error, preserving your database performance and application resources.
How-To Guide: Setting Up IP and CIDR Blocking in Apache2
Apache2 handles access control using the mod_authz_core and mod_authz_host modules, which are enabled by default in modern installations.
You can implement these blocks in two places:
The Global/Virtual Host Configuration File (Recommended for performance).
The .htaccess File (Convenient if you do not have root server access).
Step 1: Identify the Target IP or CIDR Network
Before blocking, examine your Apache access logs (usually located at /var/log/apache2/access.log) to find the offending IP addresses.
Single IP example: 192.0.2.1
CIDR Network example: 198.51.100.0/24 (This blocks all 256 IP addresses from 198.51.100.0 to 198.51.100.255).
# /etc/apache2/sites-available/your-site.conf
<RequireAll>
Require all granted
# Block a single specific IP address
Require not ip 192.0.2.1
# Block an entire CIDR network range
Require not ip 198.51.100.0/24
</RequireAll>
Modifying your site's primary configuration file is the most efficient method because Apache processes these directives once upon startup, rather than scanning the file system on every single page request.
Important
Apache2 server reboot is requiredsudo systemctl restart apache2
Optional
Run the Apache configuration test utilitysudo apache2ctl configtest
<RequireAll>
Require all granted
Require not ip 192.0.2.1
Require not ip 198.51.100.0/24
</RequireAll>
If you host multiple sites or don't want to restart Apache, you can use an .htaccess file in your website's root directory. (Note: Ensure AllowOverride All is enabled in your main Apache configuration for this to work).
Important
Apache2 server reboot is requiredsudo systemctl restart apache2
Optional
Run the Apache configuration test utilitysudo apache2ctl configtest
Summary
Manually blocking traffic by IP or CIDR network in Apache2 is a vital tool in any web administrator's toolkit. It provides an immediate, zero-cost mechanism to mitigate localized attacks, silence abusive scrapers, and safeguard server resources.
While this method is incredibly effective for standalone servers dealing with specific bad actors, keep in mind that maintaining massive blacklists inside Apache can eventually degrade performance. For large-scale, automated attacks, combining these local Apache rules with an edge-layer firewall or a network-level firewall (like UFW/iptables) will ensure your server remains both secure and lightning-fast.