
Introduction
This article provides a step-by-step guide on how to set up and configure the Memcached service, a high-performance, distributed memory object caching system often used to speed up dynamic web applications by alleviating database load.
Prerequisites
To follow this tutorial, you will need:
Ubuntu 22.04, 20.04, 18.04 or older server with a sudo non-root user.
Installed Memcached service.
What is Memcached?
Memcached is a simple yet powerful tool. The basic setup involves installing the software and then starting the service with appropriate configuration parameters.
While a basic Memcached installation often provides a sufficient default configuration to handle caching for many standard websites, custom configuration is typically necessary in specific scenarios to optimize performance, security, and resource utilization.
Here are a few simple cases where you would need to change the default settings:
"Not Enough Memory" Problem (The Cache is Too Small):
The Case: Your website or application is very popular, or you are caching large items (like big product listings or complex search results). The default memory assigned to Memcached (often a small amount like 64 MB) fills up too quickly, forcing it to constantly throw out (evict) useful, frequently-needed data to make room for new items.
Security Concern (Exposed to the Internet):
The Case: By default, Memcached might be set up to listen for connections from anywhere on the server. If your server is connected to the public internet, this is a major security risk, as anyone could potentially connect and read or delete all your cached data.
Running Multiple Caches (Conflict):
The Case: You need to run a second separate Memcached instance on the same server—maybe one for your main website's data and a second one for user session information. Since they both try to use the standard default port (like 11211), the second one won't start.
Security Note:
Never expose Memcached to the public internet without proper security measures (like a firewall or VPN), as it lacks built-in authentication.
Configuration
The location of the Memcached configuration file varies depending on the operating system and how it was installed (e.g., package manager vs. source).
In our case, we are using Ubuntu OS, the primary configuration file is usually found in this location:
Debian/Ubuntu:
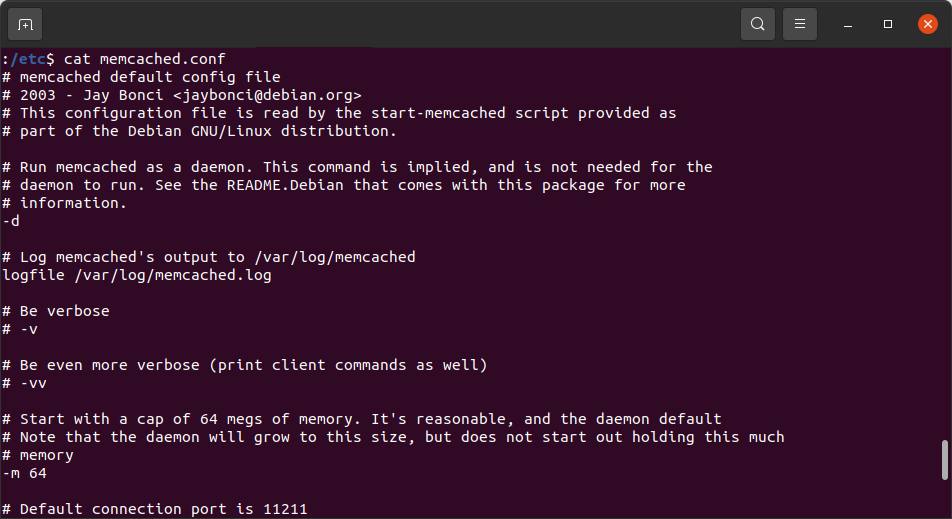
/etc/memcached.conf
Recommended Memcached configuration changes
The following are basic recommendations to boost site performance and stability. For advanced techniques, consult the official Memcached documentation.
The file to edit:
/etc/memcached.conf
# Note that the daemon will grow to this size, but does not start out holding this much
# memory
-m 256
Increase the allocated memory to 256MB. We recommend allocating more memory than the default for modern websites.
# This parameter is one of the only security measures that memcached has, so make sure
# it's listening on a firewalled interface.
-l 127.0.0.1
Keep Memcached service available only from localhost.
-p 11222
We can change the port number to not default (e.g., 11212) to hide it or fix conflict, if we are running multiple Memcached services.
-v
#Or
# Be even more verbose (print client commands as well)
-vv
Use this configuration setting if we need to have more details about the service and see executed commands.(Debugging purpose)
-c 512
Can be used to control incoming connections. (Depends on site load and cache usage, big number can slow down the performance)
-k
Instructs Memcached to lock all of its allocated memory into RAM, preventing it from being paged out (i.e., swapped) to disk.
Why This Matters
Memcached is designed to keep frequently accessed data in memory for very fast lookups. If the OS swaps some of those pages to disk:
Access time increases drastically.
Locking memory helps maintain consistent low latency.
-a 660
For use Memcached with Unix Domain Sockets, you can enable this support.
Note that if you configure Memcached to use a Unix Domain Socket, Memcached will disable TCP and UDP support so be sure that your applications do not need to connect using those protocols before enabling socket support.
Summary
Setting up Memcached is a straightforward process involving installation, critical configuration of memory and listening IP, and service management.
By properly configuring and integrating Memcached, developers can significantly enhance the performance and scalability of their web applications.